Whether you’re a seasoned photographer or an action-packed adventurer, the right camera gear can enhance your shooting experience. From stabilizing your camera with a 3-point slinger to capturing immersive POV shots with an action camera head mount, let’s delve into the best practices for utilizing these accessories.
Maximizing Comfort and Accessibility:
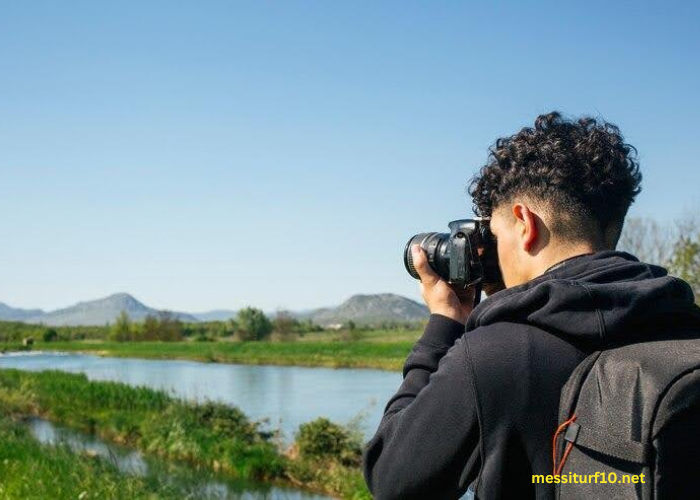
A 3-point slinger for cameras, also known as a camera sling strap, is designed to distribute the weight of your camera across your body, allowing for greater comfort during extended shoots.
Choosing and Using a 3-Point Slinger:
- Proper Fit: Ensure that the slinger is adjusted to fit snugly around your body to prevent the camera from swinging excessively.
- Camera Attachment: Connect the slinger to your camera’s tripod mount or through the camera’s eyelets using the provided attachments.
- Balance and Security: Check that the camera sits at your side or on your back, where it’s easily reachable but secure from accidental bumps or theft.
- Quick Access: Practice drawing your camera up to shooting position swiftly to ensure you’re ready to capture moments at a moment’s notice.
Safety Tips:
- Regularly inspect the slinger for signs of wear and tear, especially the connectors and stitching.
- Avoid overloading the slinger with too much weight to prevent strain on your body and potential damage to the strap.
Immersive Perspective Capture:
An action camera head mount is the perfect tool for adventurers who want to record their experiences from a first-person viewpoint, making the viewers feel as if they are part of the action.
Securing Your Action Camera:
- Adjust for Comfort: Make sure the head strap is adjusted to be tight enough that it won’t slip, but not so tight that it’s uncomfortable.
- Mounting the Camera: Attach your action camera to the head mount’s plate, ensuring it’s securely fastened before starting your activity.
- Angle for Best View: Adjust the camera angle so that it captures the view just above your eyeline, as this mimics the natural perspective of your eyes.
- Test Run: Do a short test recording to check the camera angle and stability of the footage before embarking on your activity.
Considerations for Head Mount Usage:
- Be aware of your environment and ensure your camera isn’t obstructing your vision or going to catch on low-hanging obstacles.
- If you’re using the head mount in wet or extreme conditions, make sure your camera is in a suitable waterproof housing if necessary.
- Check the security of the camera periodically, especially after high-impact movements or when transitioning between different terrains.
Conclusion
With the right camera gear like a 3-point slinger and an action camera head mount, you can shoot with greater ease and capture dynamic footage from unique angles. Remember that the key to great shooting is not just high-quality gear but also knowing how to use it effectively and safely. Always ensure that your equipment is well-maintained and adjusted to fit you properly for the best experience.